What Do I Need To Make A Leather Wallet?

Making a leather wallet is not only something a professional company can do, you can do it too!
In this blog post we’ll give you a list of the simple tools and materials you need to create your own leather wallet from scratch.
We’ll also guide you through the process of creating your own leather wallet, with 7 easy steps.
How to make a leather wallet in 7 easy steps
From gathering to materials to creating your first leather wallet, this section will take you through the whole process and give you the list of tools/materials you need, as well as how to stitch together your first homemade leather wallet.
Step 1: Gather necessary materials and tools
Your first-ever leather wallet should be somewhat simple in both size and detail, to make sure it becomes a success.
As you develop your skills you can try crafting more detailed wallets in the future.
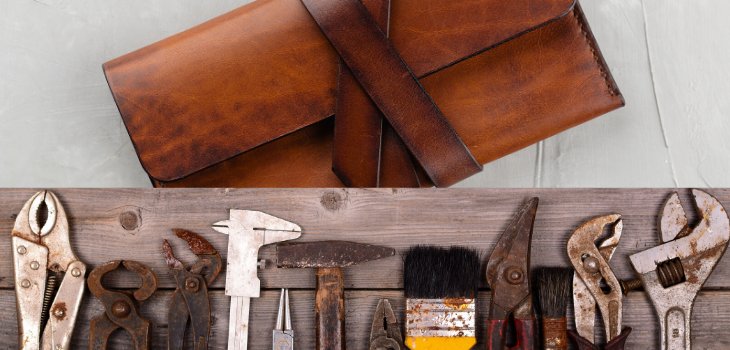
Here are the materials and tools you will need to create a simple leather wallet:
- Leather knife
- Leather, approx 4 oz. vegetable-tanned leather is often the best for beginners
- Stitching pony
- Stitching groover
- Waxed thread
- Sewing awl
- Rubber mallet
- Edge slicker
- Ruler
- Fine grit sandpaper
- Leather oils
- Spray bottle
- Leather cement
- Cardboard, thin
- Clamps
- Cutting mat
- Needle
- Thread
This might seem to be quite a long list, but if you’ve ever done sewing work before you should have many of the tools already.
Step 2: Cut pattern
Find a pattern for a nice beginner wallet online, and print it out.
Cut out a pattern from the printed schematic by placing your leather on top of it and cutting around the edges.
Use your ruler to keep the lines fine and straight and use the sharp leather knife to cut it.
Step 3: Create folds
The template you’ve chosen will more than likely have an array of folds, which you need to create on your leather.
The easiest way to do this is to clam the folds in place after youtube dampened the lines with a little warm water.
Then you keep them clamped until the leather dries, and the folds stay in place.
Make sure your folds are completely perfect before letting your leather dry, as it’s near impossible to straighten them out afterward.
Step 4: Creating the interior
Depending on your chosen wallet, it will most likely have 1 or more inside pockets.
To make them, you will have to groove the stitching lines with your groover tool.
Once you’ve marked your grooves, you can glue on the pockets.
Clamp the pockets to the folds, and make sure the glue is dry before using your diamond chisel to create the sewing holes.
Step 5: Grooving and punching
Once you’ve got the inside pockets covered it’s time to punch the rest of the sewing holes.
Use the punching holes you’ve made with the awl as a sort of guide for where to groove on the outside.
Make sure your grooving matches on both the inside and outside of the wallet.
Step 6: Stitching
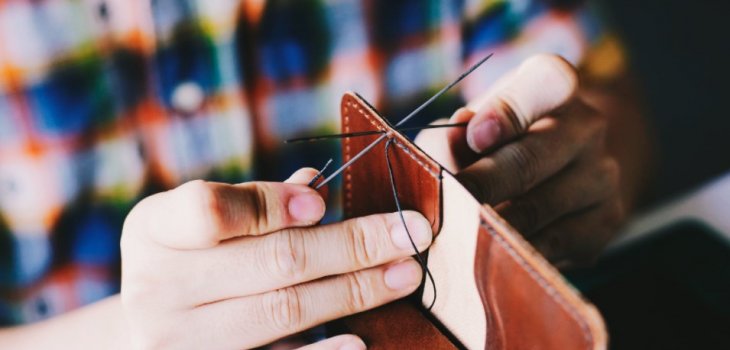
When all your sewing holes and grooves are finished, stitching will be a piece of cake.
Use a bit of leather oil before stitching to make it a lot more manageable to stitch properly.
Stitch the interior first(pockets) and then the edges of the wallet.
Most choose to double stitch leather wallets to make sure it's completely tight and won’t break open.
Step 7: Last touches
You’ve sewn your wallet, but you’re not completely done yet.
Use fine-grit sandpaper to make the sides of your wallet as smooth as you can.
Do the same for the edges of the wallet until they are perfectly lines up with the line of the pockets.
When your wallet is nice and smooth, you’ve finished!
Congratulations, you’ve just made your first homemade wallet all by yourself!
Thanks for the support
As a last note, we’d like to thank avXperten for supporting this blog post.
On their webshop, you can find thousands of nice electronic products for your office or home.
Check out their large array of cool gadgets such as a hygrometer or a tablet holder for your iPad.


